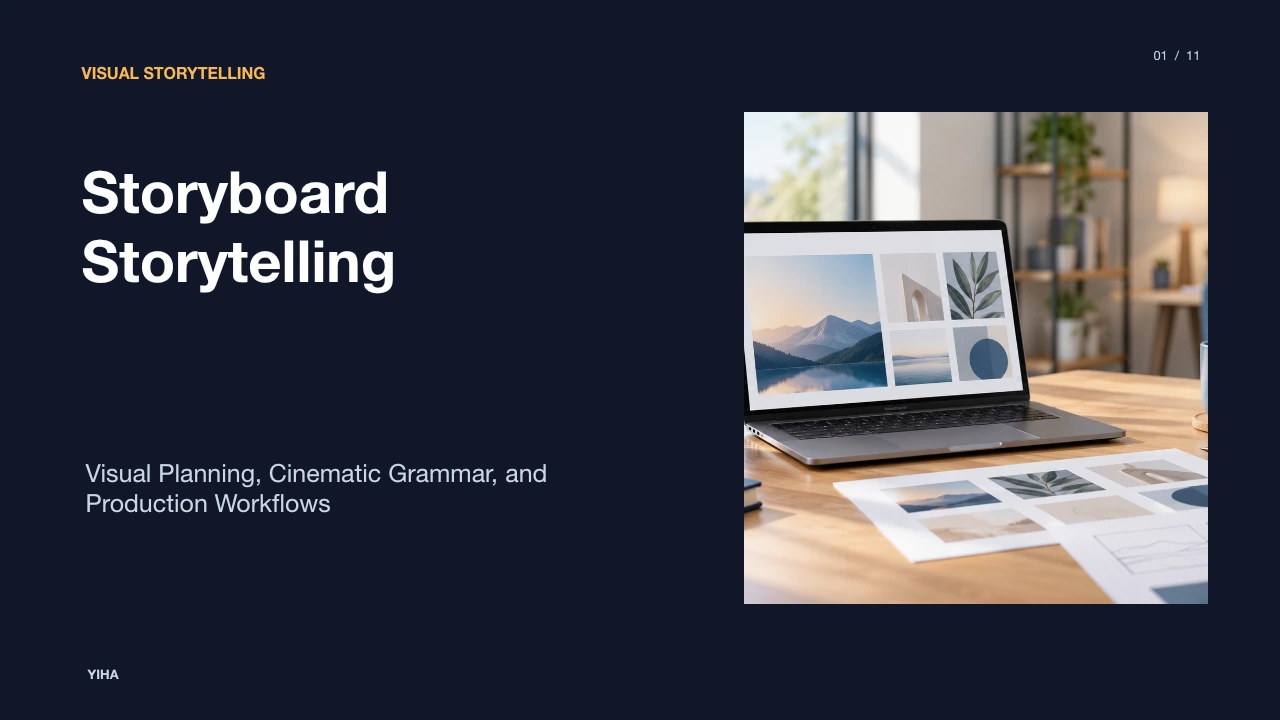
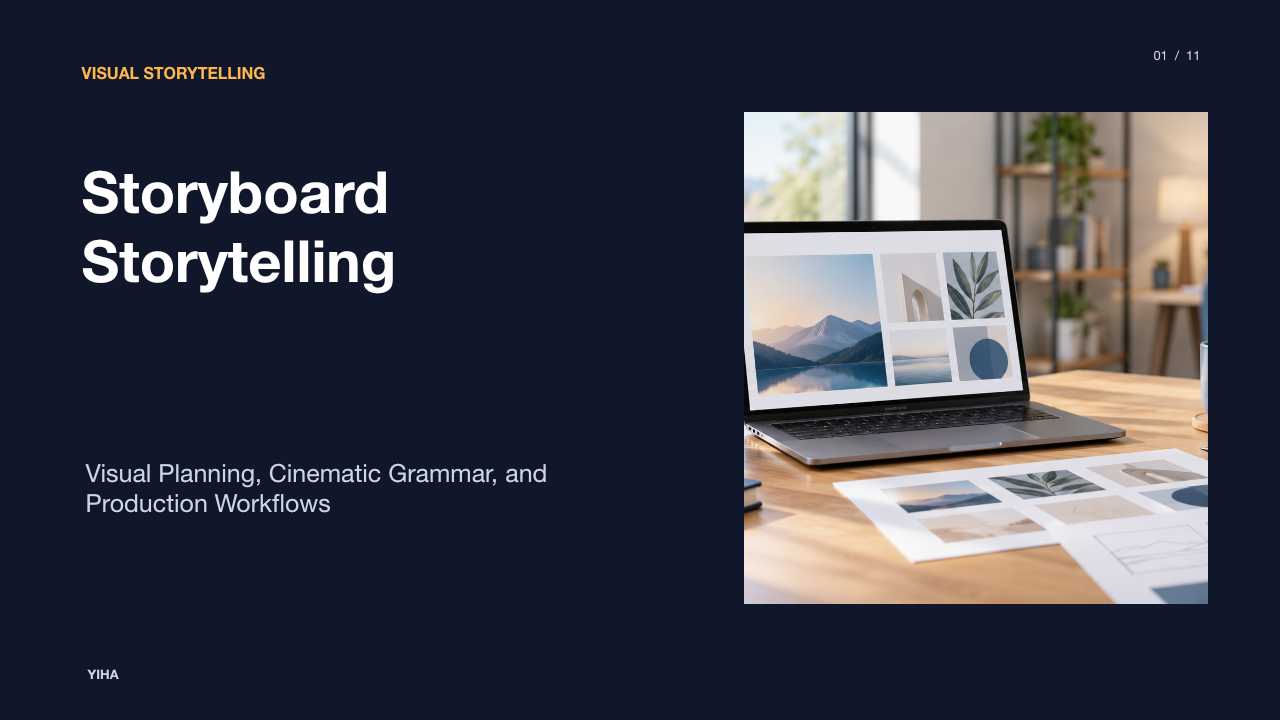
Storyboard Storytelling
A comprehensive guide to storyboard storytelling, detailing historical origins, panel anatomy, rapid scamping, cinematic camera grammar, animatic pacing, and cross-disciplinary production workflows.
Free download · 4.9 MB11 editable slides · PowerPoint format
Download the editable PPTX
PPTX · 4.9 MB · 11 editable slides · Free to edit and reuse with attribution to Yiha.ai
View every slide
Use ← →, Home/End, or swipe on mobile
Visual storytelling relies on turning abstract concepts into structured, sequential representations before committing capital and crew labor to full production. Storyboarding serves as the primary visual blueprint across cinema, television, animation, advertising, and digital experience design. By organizing key actions, framing choices, and temporal pacing into consecutive rectangular panels, creators can identify narrative flaws, align multidisciplinary teams, and manage production budgets effectively.
The Evolution of Pre-Production Visualization
Sequential visual planning originated in the earliest experiments of motion picture production. As recorded in the Storyboard Wikipedia overview, special effects pioneer Georges Méliès stood among the first filmmakers to create pre-production sketches to organize planned visual illusions. However, early silent film production frequently treated scenes like recorded theatrical stages with fixed wide shots, leaving individual animators and directors to invent gags or staging without an overarching narrative plan.
The modern storyboarding process took shape at Walt Disney Productions during the early 1930s. Walt Disney recognized that animated shorts required stronger character development and narrative focus. According to studio records cited by Christopher Finch, animator Webb Smith pioneered the technique of sketching separate scenes on individual sheets of paper and pinning them sequentially to a bulletin board. Other historical accounts, including Pete Docter and Don Peri's documentation, note that animator Ted Sears experimented with similar sequential sketches at Fleischer Studios before bringing the practice to Disney. By the production of the 1933 short Three Little Pigs, Disney established complete storyboards as standard practice, quickly creating a dedicated story department separate from production animators. By the late 1930s, studios such as Walter Lantz, Harman-Ising, and Leon Schlesinger adopted the process, and live-action cinema embraced it broadly, highlighted by William Cameron Menzies' comprehensive pre-planning for Gone with the Wind in 1939.
Anatomy of the Storyboard Panel
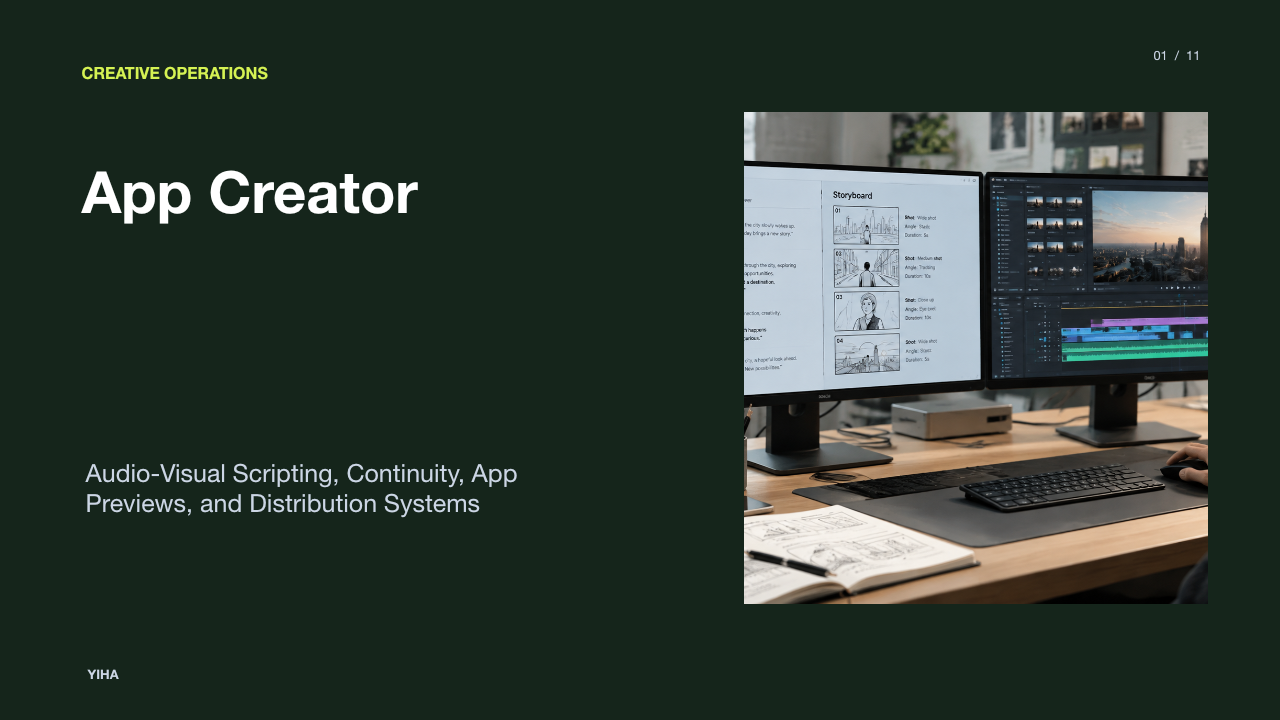
A standard storyboard panel serves as the fundamental building unit of sequential visual development. As explained in StudioBinder's guide to storyboard creation, a storyboard panel represents a single cinematic moment or camera composition framed within a fixed rectangular aspect ratio matching the final delivery medium.
Each panel integrates several key elements to communicate intent to cast and crew:
- Visual Frame: The boundary matching project dimensions (such as 16:9 for widescreen video or 9:16 for vertical formats), isolating character staging, background elements, and perspective.
- Sequence and Shot Numbering: Numeric tracking systems (often formatted sequentially or in increments of ten) that tie the drawing directly to the production shooting schedule and script breakdown.
- Dialogue and Audio Cues: Transcription of spoken lines, voice-overs, sound effects, or musical shifts taking place within that exact temporal beat.
- Directional Annotations: Arrows and written notes indicating subject movement or mechanical camera motion across the frame.
As educational designer Michelle Connolly highlights in LearningMole's visual storytelling guide, structured templates presenting six to eight panels per page provide sufficient room for both the visual composition and accompanying notes, establishing a practical reference document for the set.
The Discipline of Scamping and Visual Shorthand
Effective storyboard creation does not require finished, high-fidelity fine art. Professional studios emphasize scamping, a discipline of rapid, economical sketching that captures composition, posture, and narrative clarity without excessive detail. As noted in StoryboardArt's beginner tutorial, storyboards function primarily as visual communication tools rather than showcase illustrations.
Scamping prioritizes immediate readability. Because collaborators on a production review dozens of panels in minutes, each frame must communicate its primary focal point instantly. Artists accomplish this by testing character silhouettes, establishing clean figure poses, and stripping away decorative background details that do not advance the plot. When evaluating an early pass, clear stick figures or simplified geometric forms with distinct silhouettes communicate emotional dynamics and physical blocking far more effectively than dense, rendered drawings that obscure staging.
This rapid visual shorthand keeps panels expendable. When a director or writer determines that a scene runs too long or lacks tension, scamped panels can be revised, rearranged, or discarded within minutes. High-fidelity rendering too early in pre-production often creates resistance to necessary story revisions because artists become attached to complex drawings.
Translating Cinematic Grammar into Static Frames
Translating motion picture grammar onto two-dimensional static paper requires specific visual conventions. The Boords step-by-step guide emphasizes that storyboards must delineate both shot framing types and mechanical camera movement through clear visual cues.
Framing variation establishes emotional intimacy and spatial context. Storyboard artists alternate among wide establishing shots, medium shots, and tight close-ups to direct audience attention. In addition to framing, camera maneuvers must be represented clearly across static frames using standard arrow annotations:
- Pans and Tilts: Horizontal or vertical directional arrows within the frame indicating that the camera pivots on a fixed axis.
- Tracking and Dolly Shots: Arrows indicating camera physical movement toward, away from, or alongside a moving subject.
- Zooms: Inward or outward directional arrows, sometimes paired with internal floating rectangles, showing the progressive alteration of focal length.
Compositional principles such as the rule of thirds further guide the viewer's eye across panels. Maintaining perspective consistency within a scene allows the audience to follow spatial geometry, while changing angles between scenes signals shifts in power, mood, or focus.
Pacing, Spatial Continuity, and Animatics
Beyond isolated camera angles, storyboard storytelling governs temporal pacing and spatial geography across sequences. A central rule in continuity storyboarding is the 180-degree rule, highlighted in the AI Storyboard guide to storyboard fundamentals. By establishing an imaginary conversational axis between two characters and keeping camera positions strictly on one side of that line, the storyboard preserves consistent screen direction and prevents audience disorientation.
Once static continuity boards are drawn, animation and visual effects teams assemble them into an animatic. As documented in the Storyboard Wikipedia article, an animatic is an edited sequence of still storyboard panels timed out to rough dialogue recordings, scratch voice tracks, and temporary sound effects. By incorporating basic digital pans, zooms, and cuts in video editing software, production teams can evaluate scene pacing and narrative rhythm before filming or animating. In commercial and traditional animation productions where finished footage requires months of labor per minute, editing the story at the animatic stage prevents costly production waste.
Cross-Disciplinary Applications in Commercials and UX
While storyboarding originated in entertainment, its methods now extend across corporate media, commercial advertising, and digital product design. In advertising campaigns, agencies rely on presentation boards and photomatics. As detailed in the Storyboard Wikipedia overview, presentation boards feature higher-quality rendering or sourced photography to pitch concepts, mood, and consumer appeal to clients before filming begins.
In user experience design and software development, teams use design comics and journey boards, a practice popularized by Kevin Cheng and Jane Jao in 2006. Rather than plotting camera movements, UX storyboards illustrate user scenarios, mapping customer pain points, digital interface touchpoints, and emotional reactions across sequential steps. As noted in Murphy's visual storytelling guide, whether planning a short film, training video, or product workflow, the core mechanism remains the same: decomposing complex experiences into chronological, visual steps that align diverse stakeholders.
Evaluating Analog Pinboards and Digital Workflows
Choosing between analog and digital storyboarding environments involves distinct operational trade-offs. The historical pinboard method, using physical index cards or sticky notes pinned to studio walls, offers immediate tactile visibility. As documented in LearningMole's analysis of classroom and collaborative storyboarding, physical sticky notes allow teams to manipulate sequences, test alternative story structures, and conduct collaborative peer reviews in shared physical spaces without digital barriers.
Conversely, modern digital tools provide superior distribution, asset reuse, and revision tracking. Digital platforms allow distributed teams to edit aspect ratios, apply stock character templates, adjust frame ordering, and export animatic video files instantly. However, digital workflows can tempt artists into premature detailing or mechanical copy-pasting that stiffens natural poses. Many commercial studios adopt a hybrid model: creators begin with loose analog sketches or thumbnail passes on paper, then transition the chosen direction into digital software for revision control and department handoffs.
Common Pitfalls and Scope Distortions in Storyboarding
Pre-production visualization frequently suffers from recurring errors that distort production scope. According to StoryboardArt's instructional breakdown, one of the most common pitfalls is over-rendering unimportant visual detail. When storyboard artists spend hours refining lighting textures or background props, they slow down iteration and obscure essential narrative problems.
Other frequent pitfalls include:
- Ignoring Aspect Ratio Constraints: Drawing scenes without strict adherence to the project delivery ratio leads to compositions that crop out essential actions during shooting.
- Ambiguous Screen Direction: Failing to define spatial orientation causes confusion for cinematographers and actors during physical blocking.
- Excessive Reliance on Spoken Dialogue: Using dialogue text below panels to explain actions that the visual composition fails to demonstrate.
- Overcomplicating Frame Grids: Cramming too many micro-actions into a single page without clear shot hierarchy.
Illustrative Example: Consider an instructional scene where a character notices an alarm. An over-rendered approach might spend substantial time detailing the mechanical buttons of the alarm clock in a wide shot, yet fail to show the character's reaction. An effective storyboard approach instead uses a rapid two-panel sequence: a tight close-up on the flashing display followed by a quick low-angle shot showing the character jumping out of bed.
Building a Structured Storyboard Review Pipeline
To control budgets and guarantee creative consensus, organizations must manage storyboarding as a structured, phased pipeline. As detailed across professional workflows in StoryboardArt's curriculum, visual planning functions most efficiently when divided into distinct review stages:
- Script Breakdown and Action Beat Outlines: Extracting core visual beats, character intentions, and essential camera locations directly from the script.
- Thumbnail Pass: Producing rapid miniature sketches, typically one to two inches in size, to evaluate composition and pacing across an entire sequence in a matter of hours.
- Director and Stakeholder Pitch: Pitching thumbnail boards to creative leads to approve story structure, narrative logic, and scene cuts before proceeding.
- Continuity Cleanup and Annotations: Expanding approved thumbnails into standardized panels with complete shot numbers, dialogue notes, and motion arrows.
- Animatic Assembly and Edit: Timing cleaned panels against scratch audio to verify runtime, comedic beats, and dramatic rhythm.
- Final Production Handoff: Distributing approved storyboards and shot lists as physical reference packets or digital shared files to cinematography, art, and animation departments.
By formalizing each step, production teams catch structural narrative flaws early when changes require only simple redrawing, preventing expensive reshoots or animation overruns later.
Research sources
- Storyboard - Wikipedia · en.wikipedia.org
- Teaching Storyboarding: 8 Steps to Great Visual Storytelling · learningmole.com
- How to Create a Storyboard: A Step-by-Step Guide to Visual Storytelling – Murphy · murphy.inc
- Intro to Storyboarding: The Complete Beginner's Guide (2026) · storyboardart.org
- How to Make a Storyboard: Ultimate Step-by-Step Guide · www.studiobinder.com
- How to Storyboard: Step-by-Step Storyboarding Guide (2026) | Boords · boords.com
- Storyboard Fundamentals: Complete Beginner's Guide · ai-storyboard.com